The couch is warm, daylight is fragile, and the biting air hurts.
That is the hurdle that crushes winter consistency. But cycling in the cold doesn’t require gear-snobbery or a thousand-dollar thermal kit; it requires a manageable system.
We provide practical tips for cycling in cold weather, focused on safety, preparation, and motivation. Think of it as adult recess – just with more laundry.
We show you exactly what works so you ride right through to spring, starting with the critical factor: dialing in your layers based on temperature and effort.
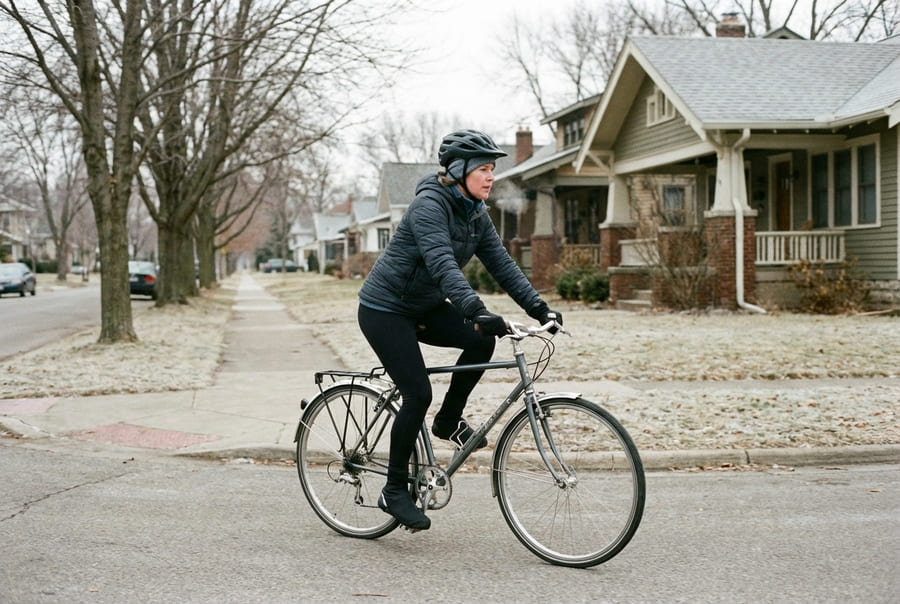
1. Start Cold: The Minimalist Layering Matrix
The crucial rule for cold weather cycling is this: If you feel warm or cozy before you roll out, you are already overdressed.
The goal is not fireside warmth, but managing moisture and blocking wind – warmth is merely a side effect. Since you generate massive heat while moving, your layering strategy must manage airflow to prevent the dreaded sweat-and-freeze cycle.
To dial in your gear, use this minimalist matrix:
- 50°F (10°C)+: Long sleeves or arm warmers, light gloves, vest optional.
- 32–50°F (0–10°C): Wicking base layer, thermal jersey, windproof outer layer, tights, and basic shoe covers.
- ~30°F (-1–0°C): Add heavy insulation (thicker gloves, merino socks), neck gaiter, and ear coverage.
- Below ~30°F (-1°C): Heavy base, mid-layer (fleece), dedicated wind/water shell, balaclava, and winter boots or highly insulated shoe covers.
Effort level is the necessary modifier. For commuting ( assuming low effort!), dress one step warmer than the matrix suggests. For intervals or hard rides (high effort), dress one step cooler.
Winter cycling is 50 percent science, 50 percent guessing, and 0 percent cotton. Ditch cotton for synthetic layers to manage moisture, and enjoy the ride.
2. Prioritize Extremities: Stop Numb Hands and Toes
A chilly torso is survivable; numb extremities are what end a winter ride. Master hand and foot insulation before upgrading your thermal jersey.
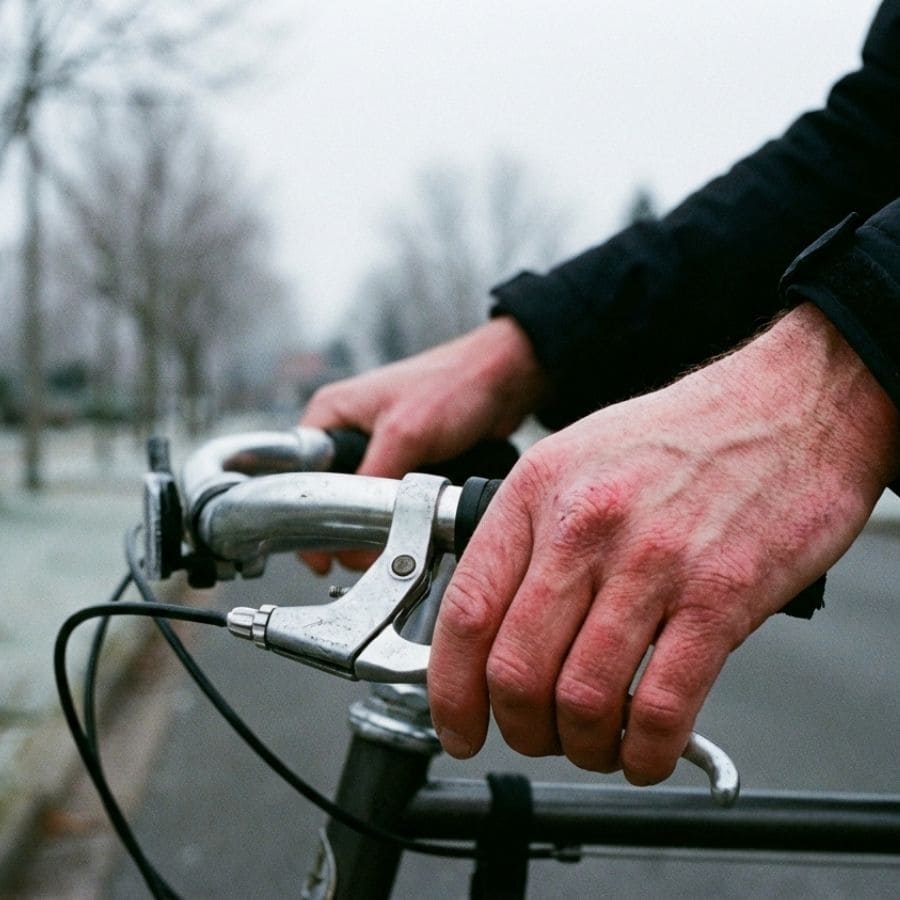
Hands
Prioritize dexterity using a thin liner glove (wool or silk) under a warmer, windproof outer shell. This dual-layer system ensures reliable shifting and traps heat.
For commuters, bar-mitts (pogies) create a furnace-like microclimate around the handlebars, offering superior warmth without forcing you into bulky gloves.
Feet
Circulation is critical. Never cram thick socks into tight cycling shoes, as compression cuts blood flow and guarantees cold toes.
Wear quality wool socks and external shoe covers.
Low-Cost Hack: Reflect heat upward by placing a strip of aluminum foil under your insole, supplementing with disposable toe warmers. Try this before committing to expensive winter boots.
Face and Prep
Protect against windburn using a buff or neck gaiter pulled up to the nose, and wear cycling glasses or goggles to shield your eyes from the stinging air.
Since moisture destroys warmth, always pack a spare pair of dry socks or gloves in a zip-top bag; they are an emergency lifeline. Frozen toes, after all, are nature’s way of reminding you that you are not a penguin.
3. Dynamic Temperature Control: The Commuter’s Venting Strategy
Dynamic temperature control is the core challenge: managing the heat you generate versus the cold air you encounter. Start too fast, and your core temperature spikes, soaking your base layer and guaranteeing misery on the first descent.
Warm from the inside out: drink hot tea or coffee before you roll. Keep the first 10 minutes strictly an easy spin; this brings your core temperature up without forcing the sweat glands into overdrive.
Deploy the precise venting strategy: Unzip on the climb, close on the descent. Open zips and vents immediately to dump heat. Crucially, zip all the way up before you crest the hill and start the downhill, spiking wind chill.
When sweat-saturated, cold air causes rapid evaporative cooling – the mechanism for misery. If your base layer is soaked five miles in, you wore too much or rode too hard too early.
The goal is to finish the ride warm, not to start it like a baked potato.
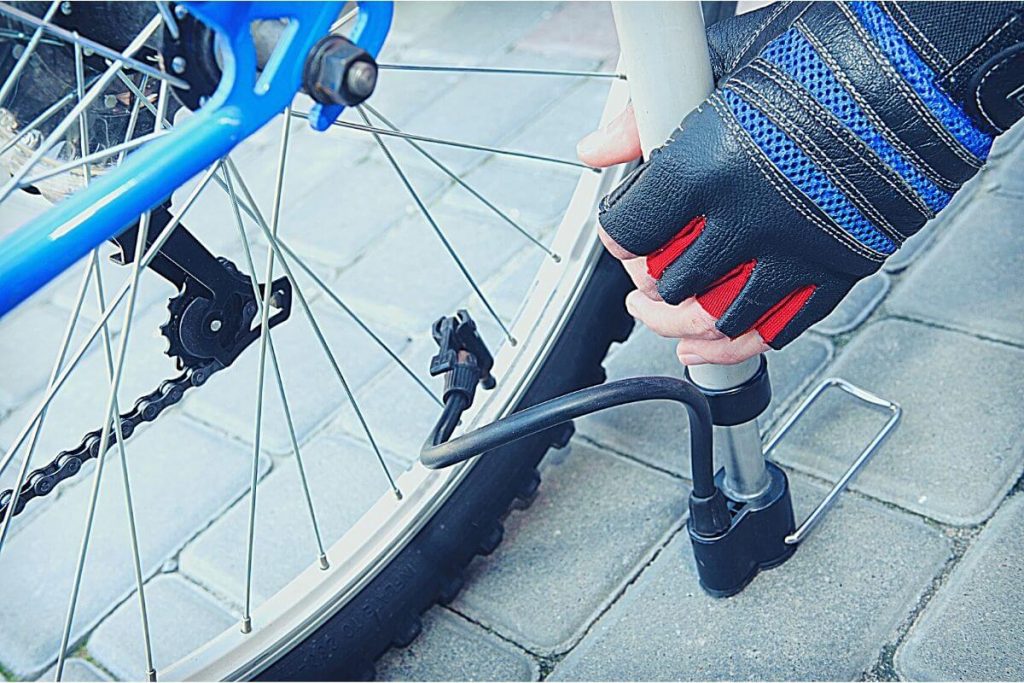
4. Master Winter Traction: Tire Pressure and Ice Decisions
Winter stability vanishes when cold rubber meets slick, often surprising, ice. Traction must be managed based on real-time conditions, not just gear.
The simplest adjustment is lowering tire pressure to the lowest safe limit to maximize the contact patch without risking a pinch-flat. (Test this before deep-freeze conditions hit.) If the frame allows, wider tires (35mm+) improve float and comfort, but be mindful of clearance tradeoffs in heavy slush.
For consistent ice or deep freeze conditions, consider studded tires. They are the ‘winter tires’ of cycling: less glamorous than carbon, but far more likely to keep you vertical. Even with studs, remember the mantra: Brake earlier and more gently, and keep your bike upright through turns.
Commuters must be hyper-aware of surface texture: metal plates, painted traffic lines, and bridge decks freeze faster than asphalt, acting as black-ice traps.
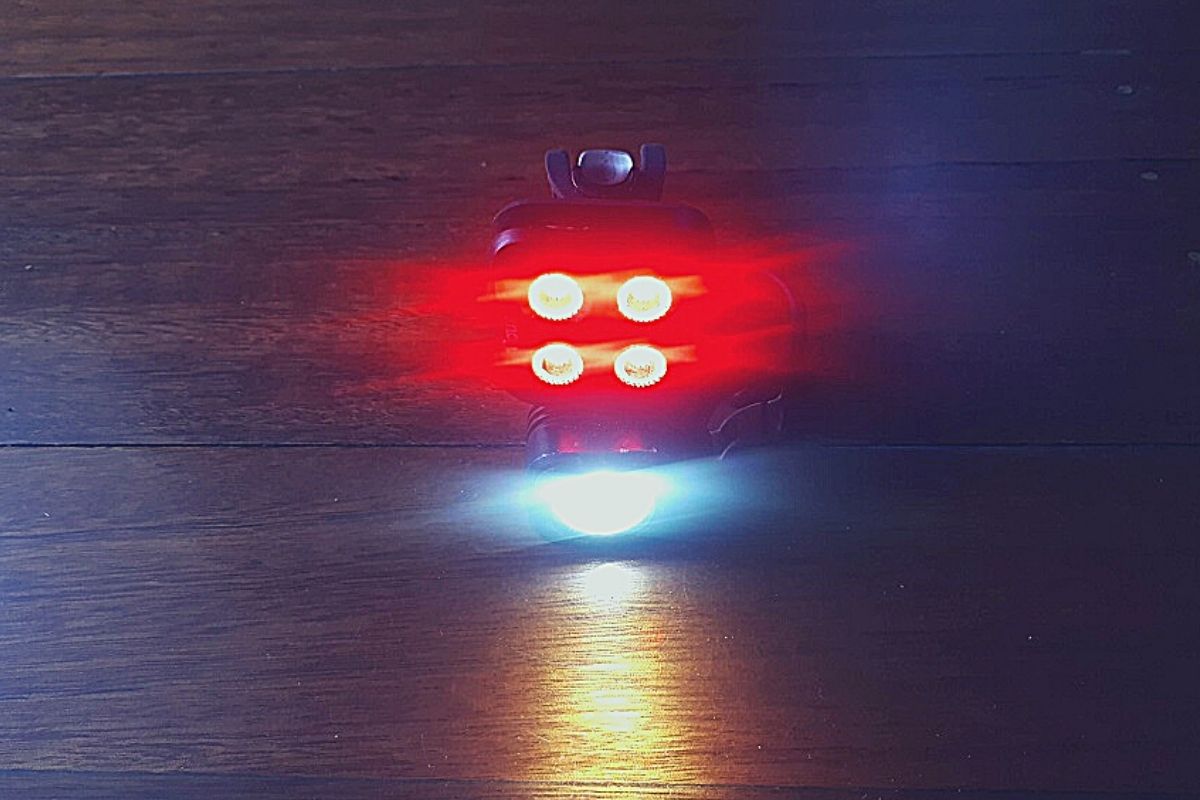
5. Essential Lighting: Maximize Visibility and Redundancy
In winter, less daylight, a low sun angle, and road spray severely limit driver visibility. Your goal is to ditch the stealth aircraft look and become a friendly, moving traffic cone.
The minimum effective setup is two lights: front white (to see potholes) and rear red (to be seen). Implement redundancy by keeping a charged backup light stashed in your pack for the inevitable dark commute. For passive safety, maximize moving reflectors, especially around your heels and ankles, as motion quickly catches the eye.
To eliminate the “dead battery surprise,” establish a concrete charging habit. Create a dedicated “charge station” for all your small electronics – lights, phone, and power packs – so they are ready every morning. This is one of the most practical tips for cycling in cold weather to maintain safety consistency.
6. Prevent the Deep Freeze: Hydration and Fueling Hacks
Winter cycling is deceptive: you feel less thirsty, but fluid loss from respiration and sweat remains high. Ignoring hydration leads quickly to bonking and impaired performance.
Insulation is paramount. Use an insulated bottle, a neoprene sleeve, or a dedicated thermos for hot tea or broth on longer rides. To keep the drinking valve unfrozen, store your bottle upside down so liquid freezes at the base first. Use a rear jersey pocket to leverage core heat and prevent solidification.
Fuel requires strategy, especially since 20°F transforms energy gels into construction adhesive. The fix: keep fuel close to your body (e.g., inner jacket pocket). Choose items you can manage with gloves:
- Softer bars or chews
- Small sandwiches
7. Winter Maintenance: Winning the War Against Salt and Slush
Winter roads are basically a corrosive, gritty soup, and your expensive drivetrain is the noodle. Salty slush and fine grit accelerate corrosion dramatically, leading to severe drivetrain wear. Ignoring post-ride care is the fastest way to incur expensive damage.
The cheapest, most effective protection is physical: install fenders. They drastically reduce the corrosive spray hitting the chain and bottom bracket, keeping you and the bike cleaner.
Commit to a five-minute micro-routine after every ride: a quick hose-down or wipe of the frame and drivetrain. Crucially, dry the chain thoroughly with a rag before re-lubing.
For conditions involving constant spray and road salt, the lube decision is easy: you need wet lube. Wet lube attracts grime, but it offers superior defense against water wash-off and salt penetration. Wax is ideal for clean, dry cold but washes off quickly in true winter slop.
🚲 Never leave a soaked bike to freeze into a corrosive salt sculpture in the garage.
8. E-Bike Battery Management: Protect Your Cold-Weather Range
Cold temperatures are the greatest enemy of e-bike range, capable of cutting capacity by 20 to 30 percent near freezing. Plan conservatively.
Treat your high-tech lithium battery like a cat: it must be stored warm, dry, and indoors. Always charge the battery at room temperature, installing it only immediately before riding. On-ride, use a neoprene cover to retain residual heat.
Maximize performance by using moderate assist and avoiding repeated max-power bursts, which stress cold batteries. Until you know your performance envelope, build in a bail-out option (shorter loop or transit backup).
Post-ride, bring the battery inside immediately. If deeply cold, allow it to warm up for an hour or two before plugging it in, following manufacturer charging habit guidance to protect your long-term investment.
9. Know When to Bail: Emergency Kits and Hypothermia Safety
You are not failing your fitness goals if you decide to skip a cold-weather commute or training ride.
Bravery is good; becoming a cautionary tale on Nextdoor is not.
Red Flags to Ride Indoors
🚨 Delaying or moving your ride to the trainer is the smart move if conditions include:
- Widespread ice or active storm systems.
- Extreme wind chill that exceeds your gear’s capacity.
- Roads dangerously narrowed by high snow banks or low visibility.
When you do ride, prefer sheltered routes. Avoid bridges and shaded corners, as they freeze first.
For route planning, take the headwind early and reserve the tailwind for the final approach when you are cooling down near home.
The Emergency Lifeline
For remote or sub-freezing rides, carrying a compact emergency kit is non-negotiable.
Pack the following essentials:
- Chemical warmers and a compact emergency blanket.
- A fully charged phone and redundant lighting systems.
- Spare gloves or socks sealed in a zip bag. If you stop and your contact points get wet, these dry spares are critical.
Recognize the signs of hypothermia: persistent shivering, confusion, fumbling hands, slurred speech, or unusual drowsiness.
If these symptoms appear, seek immediate shelter and actively warm your core.
Was this useful? Why not share with others 👇